
While standard Input Controls simply prompt a user to select filter values before running a Report, Cascading Input Controls prompt the user with a connected series of Input Controls, in which the value selected in one control will determine the available options in another.
For the purposes of this case study, we will create Cascading Input Controls that first prompt the user to select Course Categories, then display the Courses available within those Categories for further filtering. The following image displays the Cascading Input Controls to be created over the three steps of this case study: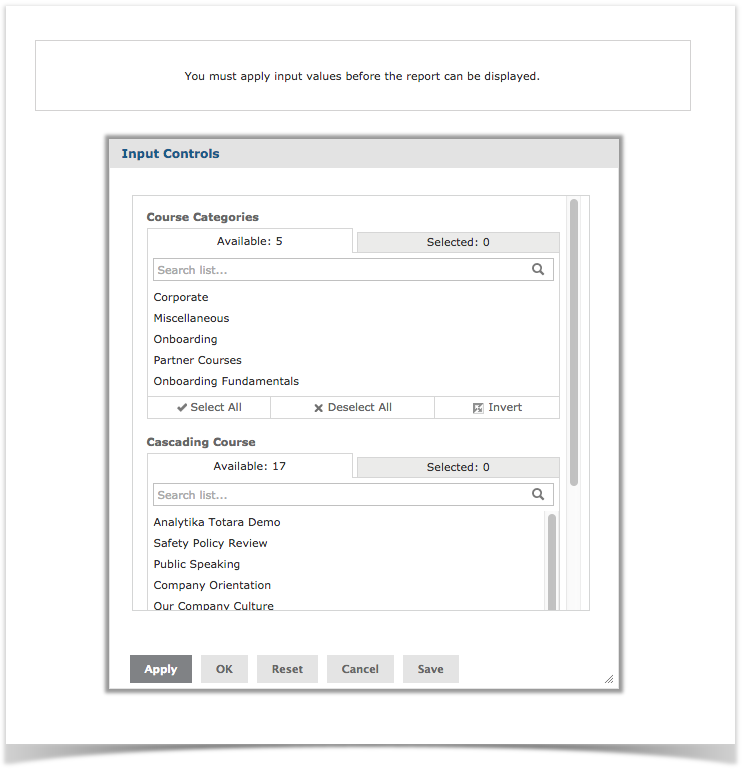
This case study assumes that you have created a Table View Report from the Course Completions Domain, using the following columns:
- Course
- Course Start Date
- Course Category
- Name
- Date Enrolled
- Status
This case study is divided into four sections:
- Preparing the Report and Gathering Information
- Creating the Course Categories Input Control
- Creating the Cascading Courses Input Control
- Adding the Input Controls to the Report
Preparing Your Report
The images, examples, and references throughout this case study assume that you are working with a Zoola Report with the following specifications:
- Data Source: Course Completions
- View Type: Table View
- Columns: Course, Course Category, Name, Date Enrolled, Date Completed, and Status.
- Filters: Course ID (Is One Of), Course Category ID (Is One Of).
However, in order for the SQL and parameters used in this case study to function, your Report must only meet the following criteria:
- Columns: Course, Course Category.
- Filters: Course ID, Course Category ID.
Configuring the Report Filters
The queries used in this case study require that your Report contain Course Category ID and Course Category ID filters, as shown in the following image: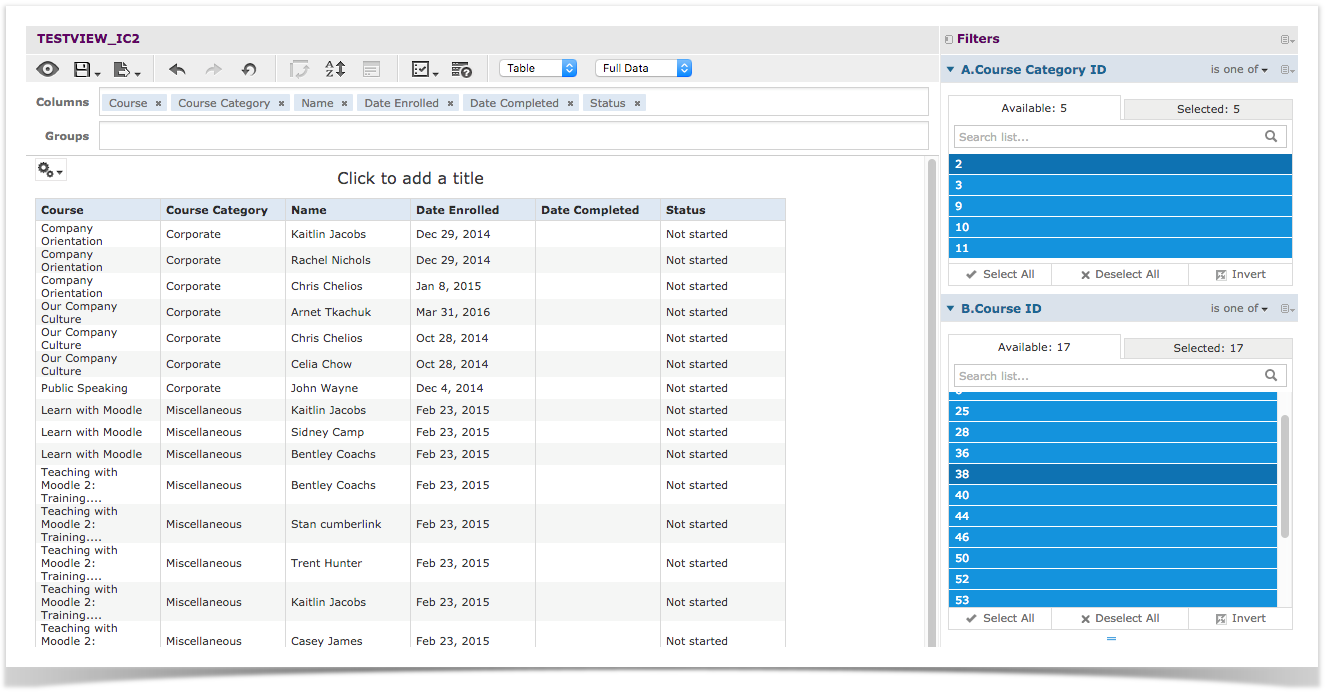
Note that you do not need to include the Course ID and Course Category ID columns in your Table - but you must include them as filters. To include and configure these filters for your Report, complete the following steps:
- From the Repository, open the Ad Hoc View from which your Report was created.
- In the left-hand column of the Ad Hoc Editor, select the Course Category ID measure from the Measures panel.
- Right-click the Course Category ID measure and select Create Filter. The Course Category ID filter appears in the right-hand Filters column.
- Repeat steps 2 and 3 for the Course ID measure.
- From the Filter Title bar, click the Equals selector to expand the Filter Type Options list.
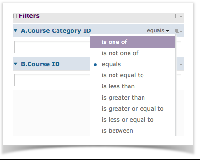
- From the Filter Type Options list, select Is One Of. Do this for both filters.
This filter type allows the user to select any amount of values (ranging from one to all). - For each filter, click the Deselect All button, then select a few values for each filter. These selections will not matter for the final version of this Report, as users will be required to select Input Control values before running the Report. However, it is important that you complete this step—if every filter value is selected, the queries implemented in steps 2 and 3 of the case study will not function as required. Be sure to select some, but not all of the filter values for your Ad Hoc View before you save it as a Report.
- Save your Ad Hoc View and either Create a New Report or Update an Existing Report.
Gathering Filter Parameter IDs
In order to properly map Custom Input Controls to existing filters, you will need to know the specific Parameter IDs of each filter. Both steps 2 and 3 of this case study will require you to enter the Parameter IDs of the Course ID and Course Category ID filters, respectively.
If you are following this case study to the letter, your Parameter IDs should be:
- Course ID: course_id_1
- Course Category ID: course_category_id_1
However, Parameter IDs for filters are generated by combining the table field ID with a number representing the filter (if multiple filters are created from the same field, the suffixes will grow from 1 to 2, and onwards).
To find out the exact Parameter ID of a filter in your Report, complete the following steps:
- Create a new Dashboard by navigated to Create > Dashboard.
- Add the Ad Hoc View of your Report to this Dashboard by selecting it from the Available Content panel.
Once you have added the Ad Hoc View to your Dashboard Canvas, the Filters panel appears, showing the Course ID and Course Category ID filters. - Right-click the Course Category ID filter and select Properties.
- Note the Parameter Name from the Properties window.
- Repeat steps 3 and 4 for the Course ID filter.
Before continuing on to Step 2: Creating the Course Categories Input Control, be sure you have completed the following:
- Created a Report with at least the Course and Course Category fields as columns.
- Added filters to your Report for the Course ID and Course Category ID fields.
- Noted the Parameter IDs for your filters by examining the Properties window for each filter in the Dashboard Designer.
Creating the Course Categories Input Control
- The next step is to create the input controls that will be used to provide this cascading behaviour. The first input control to create is the Course Categories one.
- When logged into Zoola, follow this URL (https://zoola.io/app/flow.html?_flowId=addInputControlFlow&ParentFolderUri=%2FReports) to be taken to the Create Input Control workflow.
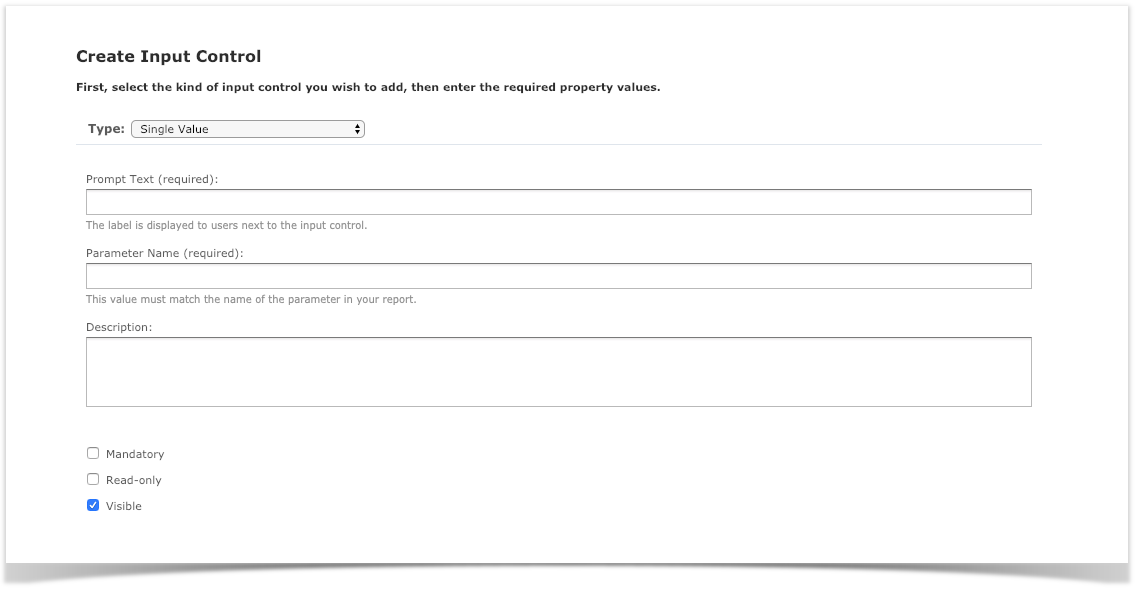
- In the Type field, select Multi-Select Query.
- In the Prompt Text field, enter "Course Categories".
- In the Parameter Name field, enter the Parameter ID for the Course Categories ID filter in your Report: "course_category_id_1".
- After the optional Description field, ensure that the Visible option is checked.
- Click the Next button. The Locate Query page appears:
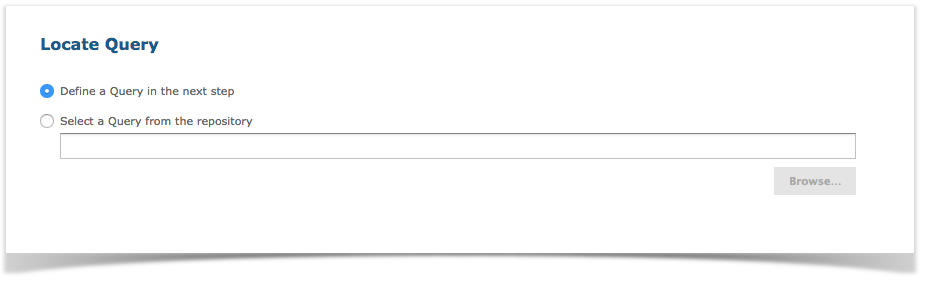
- Select Define a Query in the next step, as you will be entering a new unique query instead of selecting an existing one.
- Click the Next button. The Name the Query page appears:
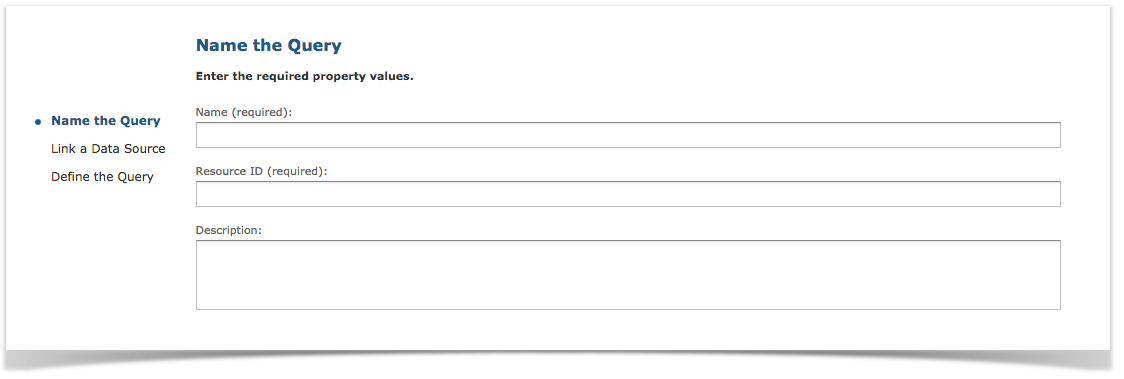
- Enter "Course Categories" in the Name field (the Resource ID field will auto-populate).
- Click the Next button. The Link a Data Source to the Query page appears:
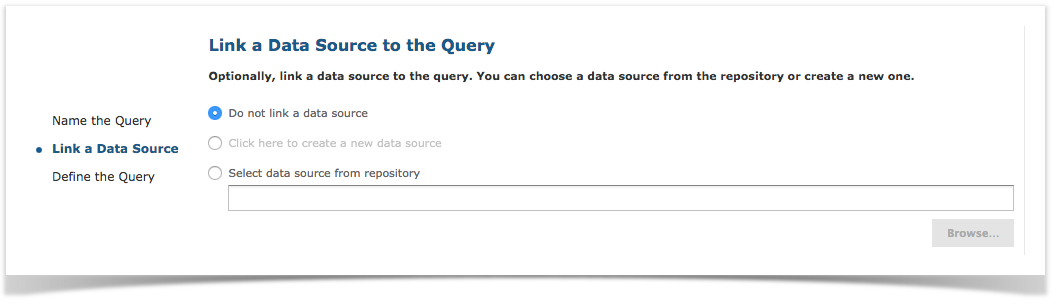
- Select the Select data source from Repository option.
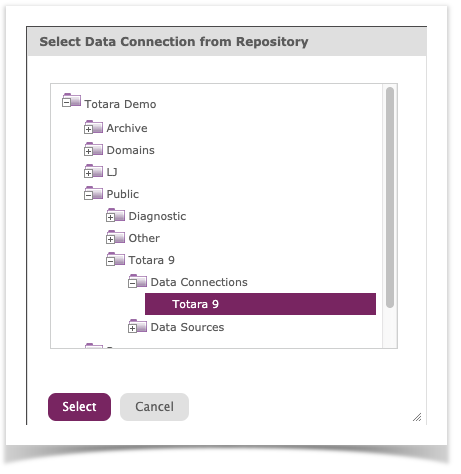
- Click Browse and identify the Totara data source (Public > Moodle/Totara > Data Connections > Totara), then click Select.
- Click Next. The Define the Query page appears:
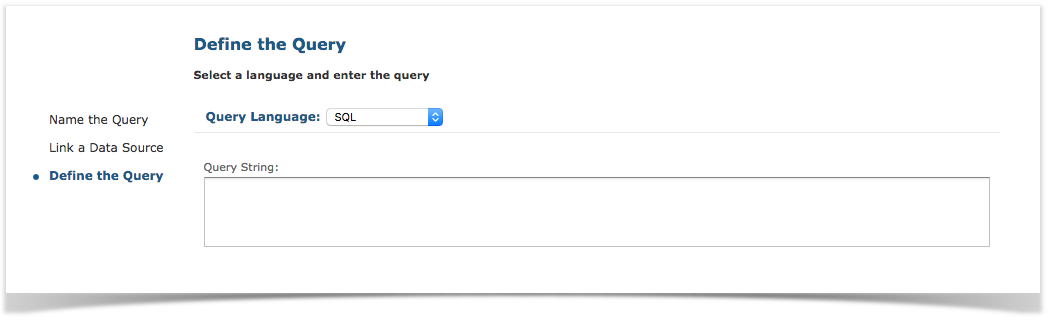
- From the Query Language list, select SQL.
-
In the Query String field, enter the following query:
select id, name, concat(repeat(concat(' ', char(59 using utf8)), (depth-1)*2), name) as hierarchy_name from mdl_course_categories order by sortorder - click the Save button. The Save Parameters page appears:
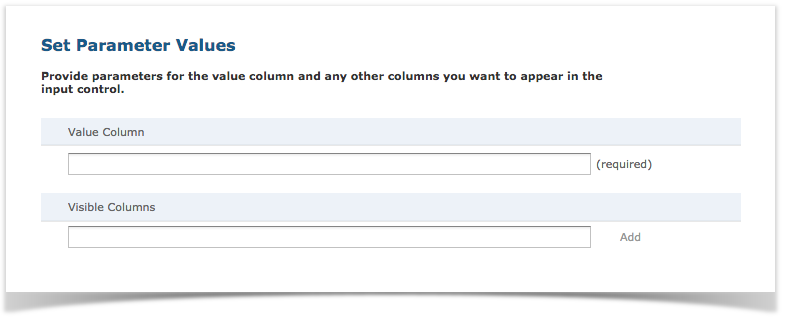
- In the Value Column field, enter "id". This enables the Input Control window to present values based on the ID fields from the mdl_course_categories table.
- In the Visible Columns field, enter "name" and click the Add button. This enables the Input Control window to present the ID fields by their associated name. In this case, this will display the Course Categories by their proper names instead of their IDs.
- Click the Submit button.
In this step of the Cascading Input Controls case study, we will create an Input Control for selecting Courses that is dependent on the selected Course Categories from the previous Input Control created in the previous step. Once a value or values are selected in the Course Categories Input Control, the Cascading Courses Input Control will live-update, and only allow the user to choose from Courses within the selected Course Categories.
The process of creating this Cascading Input Control is similar to the process of creating a Standard Input Control, except for the parameter referenced in the query —here, the query will reference the parameter name of the Course Category Input Control.
- When logged into Zoola, follow this URL (https://zoola.io/app/flow.html?_flowId=addInputControlFlow&ParentFolderUri=%2FReports) to be taken to the Create Input Control workflow.
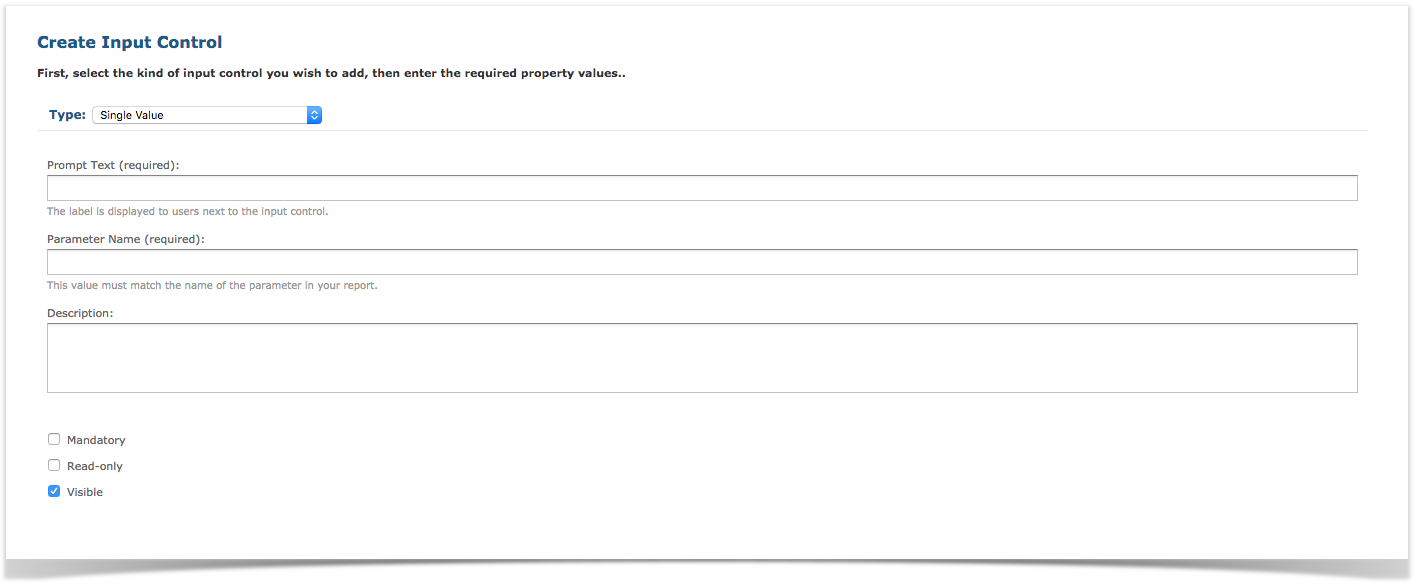
- In the Type field, select Multi-Select Query.
- In the Prompt Text field, enter "Cascading Course".
- In the Parameter Name field, enter the Parameter ID for the Course Categories ID filter in your Report: "course_id_1".
- After the optional Description field, ensure that the Visible option is checked.
- Click the Next button. The Locate Query page appears:
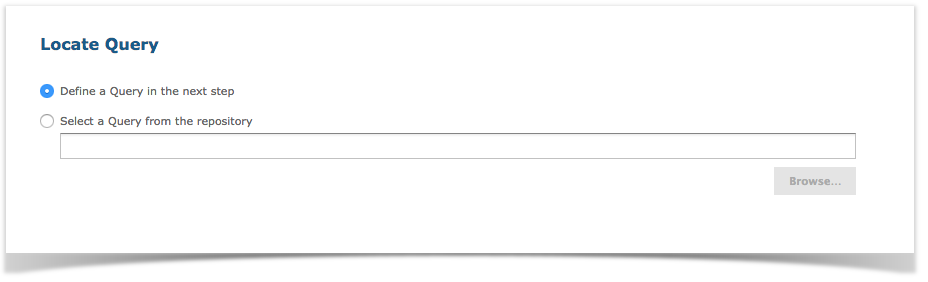
- Select Define a Query in the next step, as you will be entering a new unique query instead of selecting an existing one.
- Click the Next button. The Name the Query page appears:
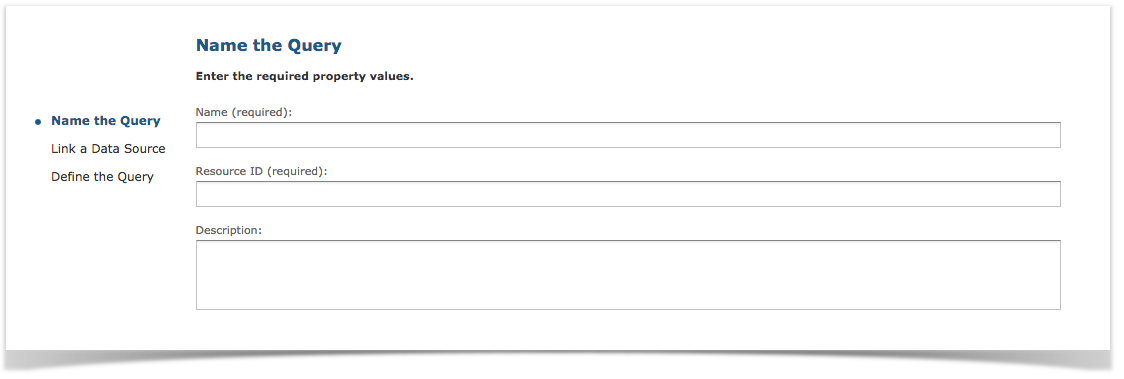
- Enter "Cascading Courses" in the Name field (the Resource ID field will auto-populate).
- Click the Next button. The Link a Data Source to the Query page appears:
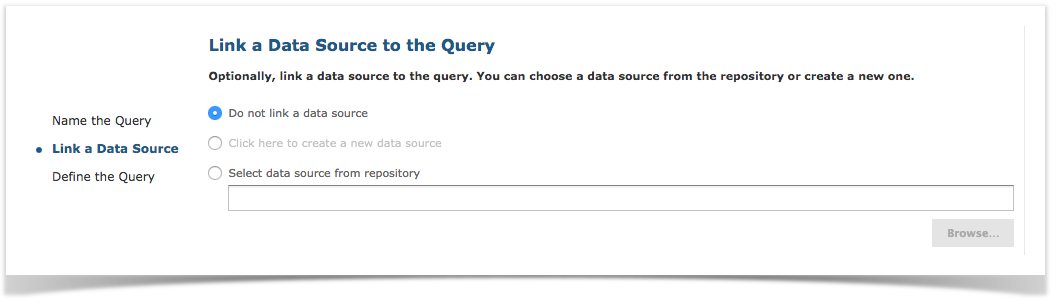
- Select the Select data source from Repository option.
- Click Browse and identify the Totara data source (Public > Moodle/Totara > Data Connections > Totara), then click Select.
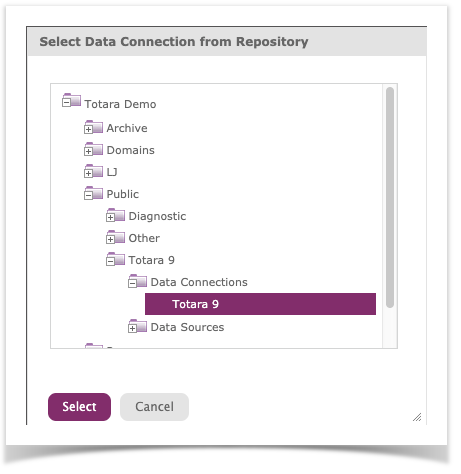
- Click Next. The Define the Query page appears:
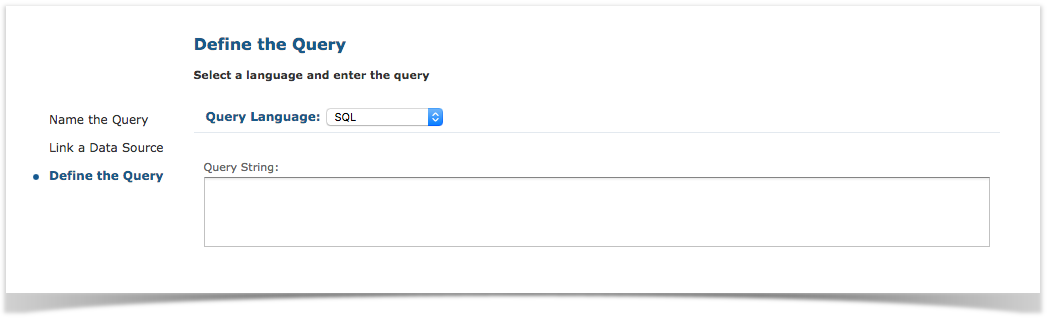
- From the Query Language list, select SQL.
-
In the Query String field, enter the following query:
select id, shortname, fullname

from mdl_course

where $X{IN, category, course_category_id_1}

order by sortorder
The where clause $X{...} means that you want to select values where mdl_course.category match course_category_id_1
- click the Save button. The Save Parameters page appears:
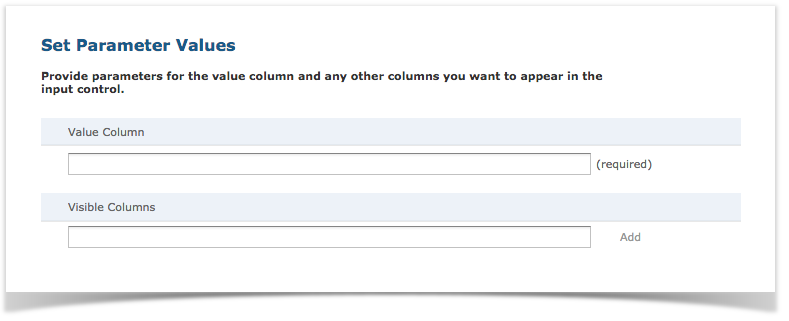
- In the Value Column field, enter "id". This enables the Input Control window to present values based on the ID fields from the mdl_course_categories table.
- In the Visible Columns field, enter "fullname" and click the Add button. This enables the Input Control window to present the ID fields by their associated name. In this case, this will display the Course Categories by their proper names instead of their IDs.
- Click the Submit button.
In this section of the Cascading Input Controls case study, we will bring together the Course Categories Input Control with the Cascading Course Input Control and insert them into a Report.
For the purposes of this case study, we will apply the Input Controls to the Report described in Case Study: Cascading Input Controls.
To add Cascading Input Controls to a Report, complete the following steps:
- In the Repository, identify the Report to which you intend to add the Cascading Input Controls.
- Right-click the Report and select Edit. The Set Up the Report screen appears:
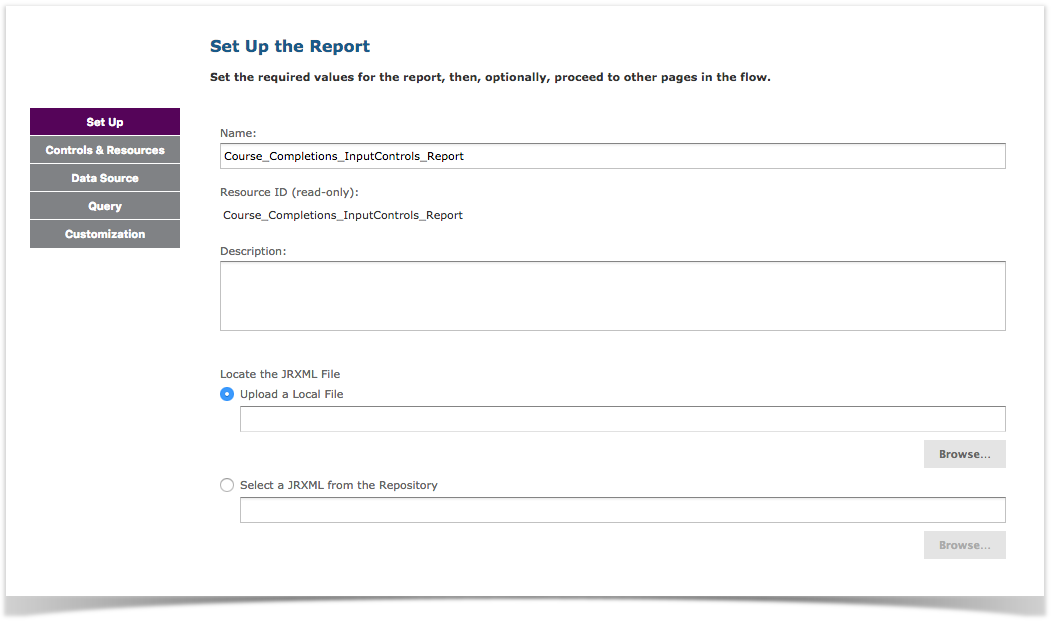
- From the left-hand panel, select Controls & Resources to open the Controls & Resources screen:
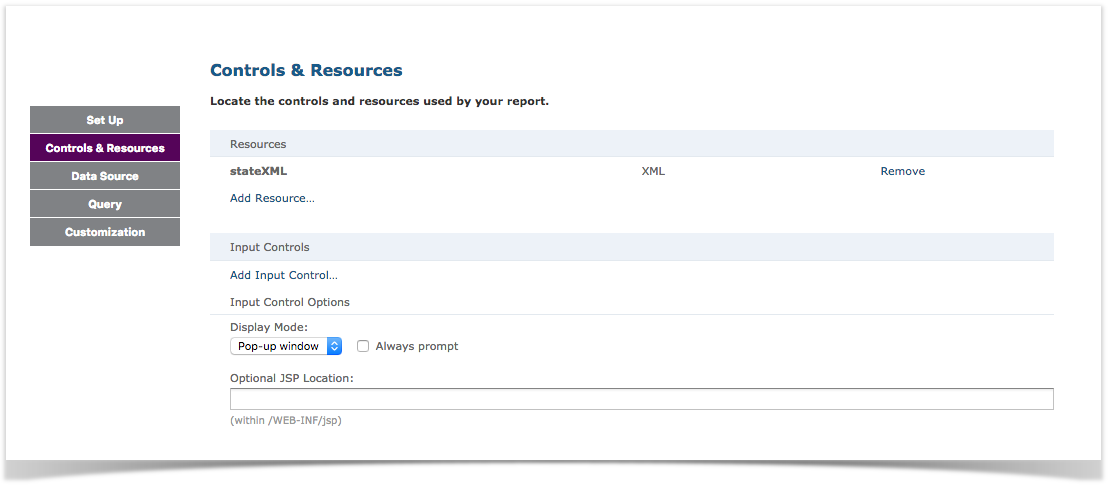
- Underneath the Input Controls heading, click Add Input Control. The Locate Input Control screen appears:
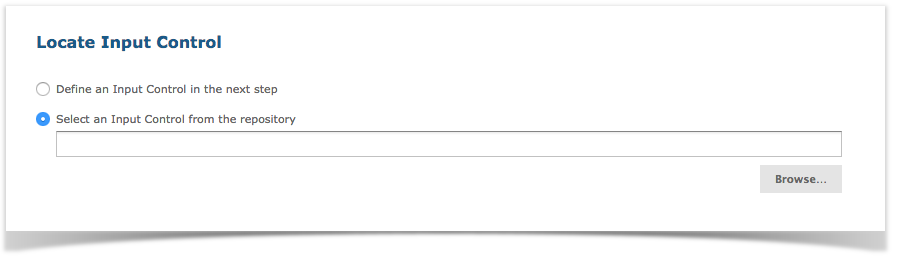
- Ensure that Select an Input Control from the Repository is selected.
- Click the Browse button, and use the File Explorer to identify the Custom Input Controls folder.
- Select the Course Categories Input Control.
- Click Next. You will return to the Controls & Resources screen.
- Repeat Steps 4,5,6,7, and 8 to select the Cascading Course Input Control. When you return to the Controls & Resources screen, you should see the Course Categories Input Control and the Cascading Course Input Control stacked in order underneath the Input Controls heading, identified by file path:
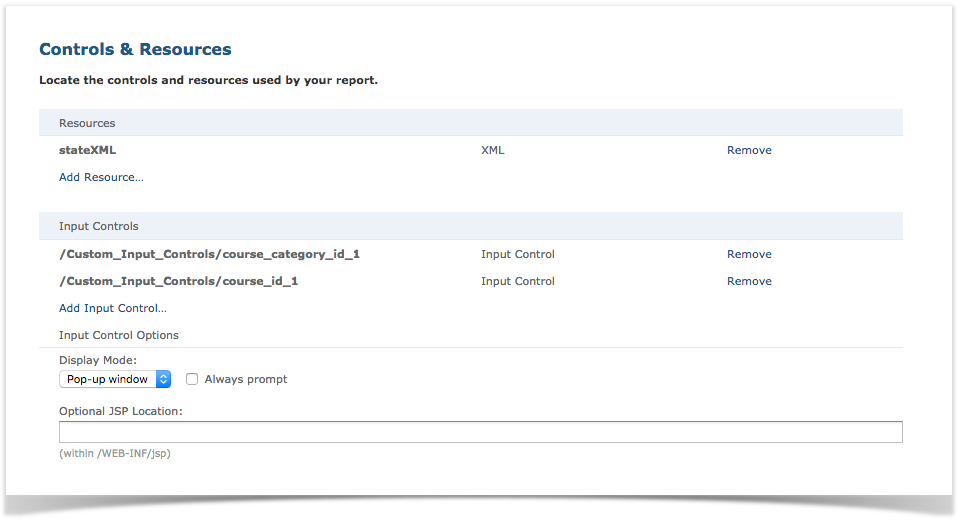
- From the Display Mode list, select Pop-up Window.
- Select Always Prompt. When selected, this instructs the system to force the user to enter values into the Input Controls before running the Report.
- Click Submit.
Now, when you run the Report, the Cascading Input Controls will appear as a pop-up window prompt: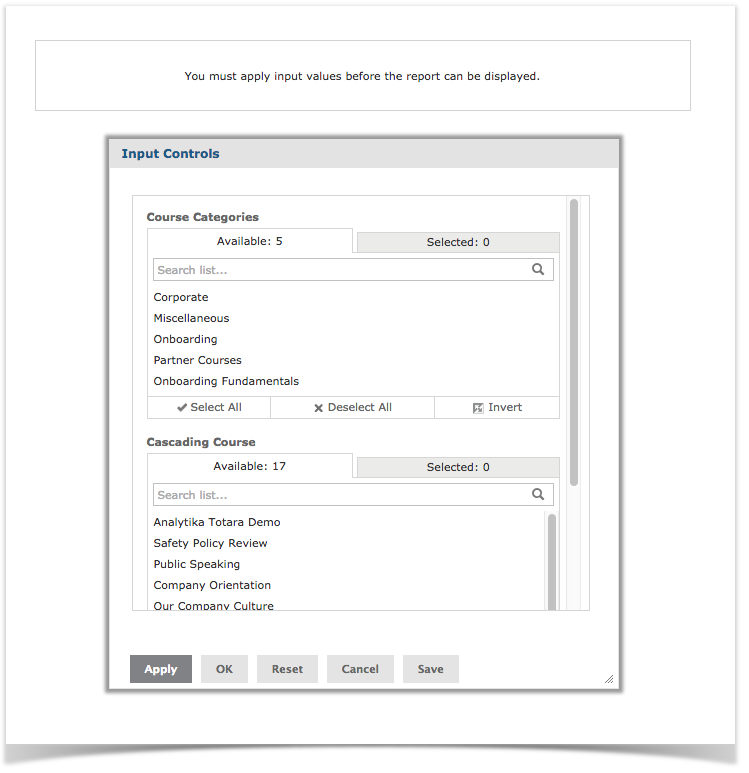
In the Cascading Input Controls shown above, any selections made in the Course Categories Input Control will constrain the available values in the Cascading Course Input Control.
Also, note the following:
- Selecting 'fullname' as the visible variable allows the Input Control to show the course fullname values in the Cascading Courses Input Control.
- The specified Prompt Text appears in the Input Control as a title.
Comments
Article is closed for comments.