Downloadable Product Overview
A downloadable product is a product which can be delivered to the customer as a file. This includes eBooks, software applications, and videos.
 TIP
TIP
Providing a sample of your downloadable product for your customers to initially download can help them get a better sense of your product.
Creating a Downloadable Product
1. On the Lambda Store Admin panel, click Catalog > Products to access the Products page.
2. On the products page, click on the drop down arrow beside Add Product and select Downloadable Product. 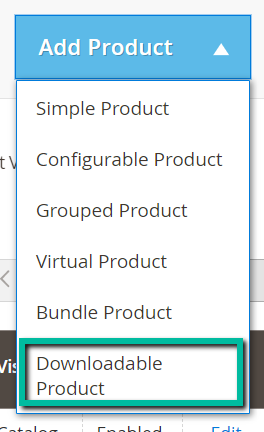
3. Enter the Product Name in the corresponding field.

4. Your Lambda Store will automatically generate an SKU based on your product name. In necessary, you are free to manually enter another SKU.

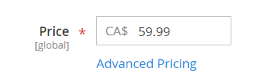
5. Enter an appropriate Price for your product.
6. Select an appropriate Tax Class using the corresponding drop-down menu.

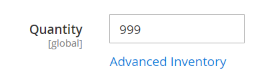
7. Enter the Quantity of your product that is available for sale.
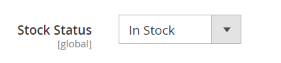
8. Set your product as 'In Stock' to show that it is available for sale on the website. When the quantity is empty or zero, the stock status defaults to out of stock.
 NOTE
NOTE
If you have your Inventory Settings turned off, then you do not need to configure your product's Quantity and Stock Status settings.
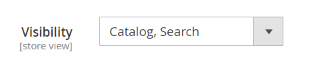
9. The default visibility setting, 'Catalog, Search', allows the product to be accessed through viewing the catalog or using the search panel. You can keep this default setting, or individually select 'Catalog,' 'Search,' or 'Not Visible Individually.'
NOTE
Setting your product visibility to Not Visible Individually will result in your product not being accessible unless it is part of a bundle or combined product. If you would like to 'hide' your course, then set Visibility to Search, or add it to a hidden Catalog.
11. In the corresponding drop-down menu, select the categories applicable to your product. If you would like to create a new category for your product, click New Category.

12. Scroll down and expand the Downloadable Information section.
13. Expand the Links section.
Enter the Title for the download link header.

Enter the Title of your downloadable product. For both the File and Sample fields, select whether you would like to Upload File or use a URL and click Browse Files.
For the Shareable field, select one of the following options:
No: This requires customers to log in to their accounts to access the download link.
Yes: This allows the link to be sent to customers via email, which they can then share with others.
Use Config.: This uses the method that is specified in the Download Options
If you would like to limit the number of times a customer can download the product, input this specific number into the Max. Downloads field. If you would like the product to have unlimited downloads, select the Unlimited checkbox.
To switch the positions of the links, drag the ![]() button.
button.

14. Scroll down and expand the Samples section. Enter the Title of the sample link header.

Click Add Link to add the sample, and enter an appropriate Title.
Under File, select whether you would like to Upload File or use a URL and click Browse Files.
To switch the positions of the links, drag the ![]() button.
button.

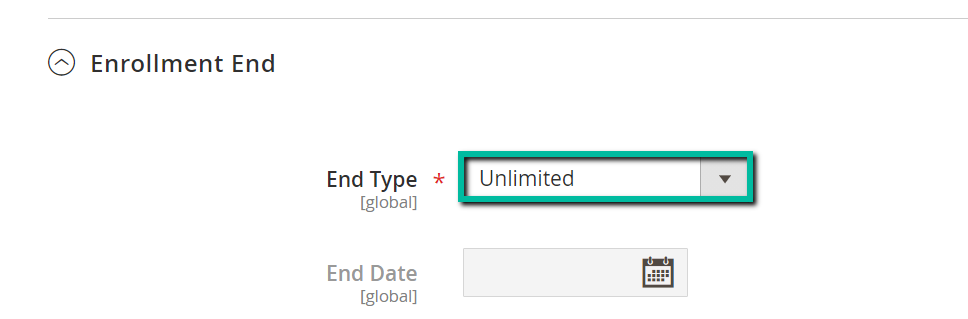
15. Scroll down and expand the Enrolment Settings section. This section is mandatory for all products, allows you to determine the enrolment dates for courses and virtual products.
16. Expand the Enrolment Start section, and select Open on the Start Type drop-down menu.

17. Expand the Enrolment End section, and select Unlimited on the End Type drop-down menu.
18. Once you are complete, click Save.
You can preview your product from the Customer View on the Admin menu on the top-right corner of the page to ensure that your product page is entirely ready.
Comments
Article is closed for comments.